June 13, 2017
Handmade books are beautiful things – the term ‘bookbinding’ even sounds magical, bringing images of waving wands and sweeping cloaks to mind. But to compare the task of a traditional book maker to that of a wizard or magician would be vastly unjust, as I soon discovered when I attended a bookbinding course at the London Centre for Book Arts recently. Taking a bold leap from the sales desk to the production workshop (albeit for one day only), I emerged the other side with a renewed appreciation for the skill, effort and patience involved.
I hope that this review of my experiences gives you a small insight into the painstakingly perfectionist world of notebook manufacture that we live in…
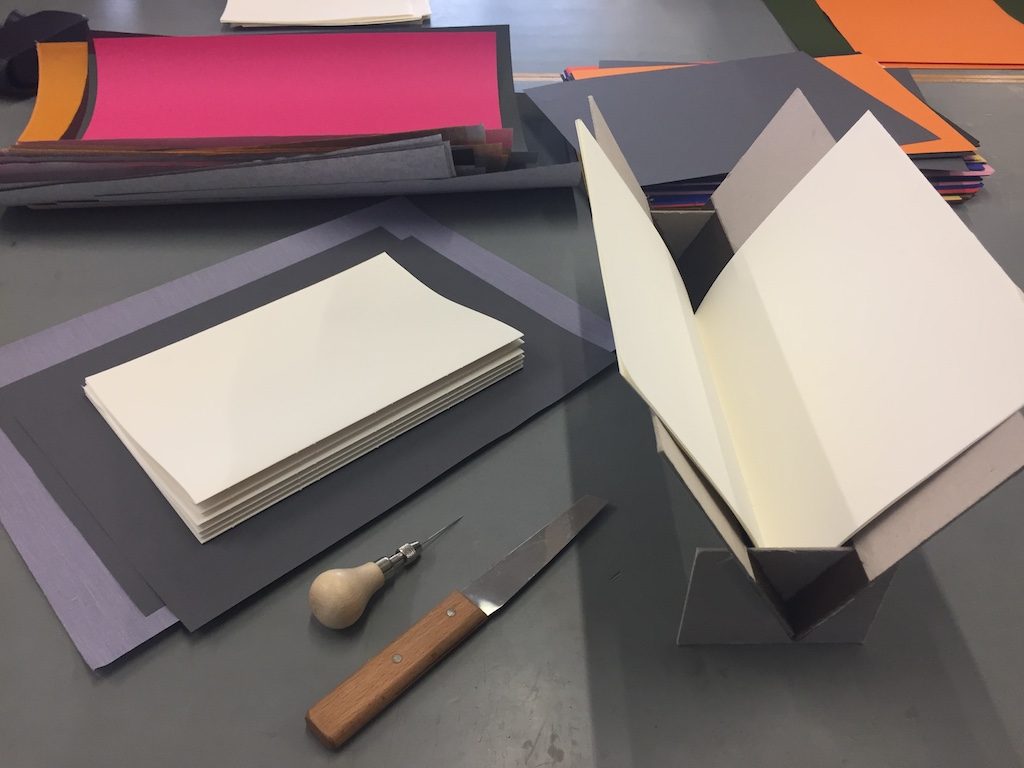
Step 1: Paper Power
Lesson one: paper grain. It is vital that the grain of the paper runs in the correct direction in order for the pages to fall correctly when open, with a satisfyingly weighty flop – and you have to manually establish this before cutting your pages down to size. Otherwise, you could mess up the whole book right from the start (and I came to discover that there were quite a few points during the process at which total failure was a very real and distressing threat). Paper will either be long or short grain; running in the direction of the length or width respectively. Once determined, cutting along your pre-folded edges with your paper knife is much easier, and results in fewer tears along the way – the ripped kind, not the watery kind (although, as alluded to earlier, it was touch and go at times). These sliced sections were then folded and tucked snuggly inside each other to make 8 ‘signatures’ of 16 pages, ready to be fused together into something more recognisable.
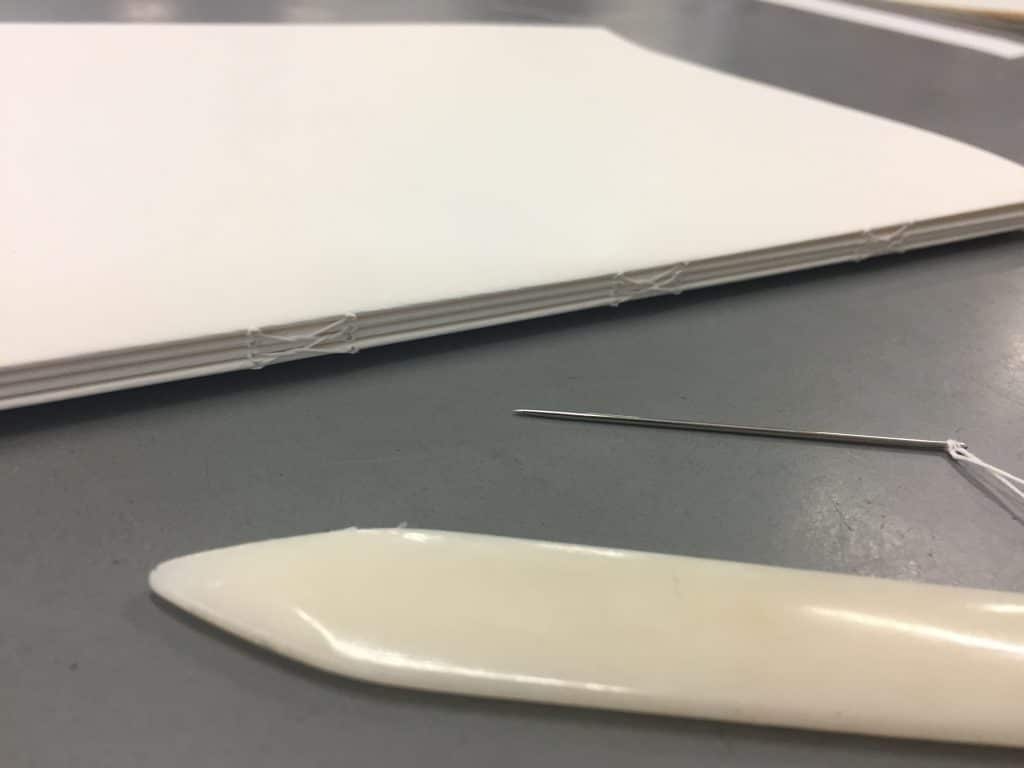
Step 2: Sewing Sorcery
I knew we’d have to brandish our sewing needles at some point, and now was the time. A fairly simple concept; in from the outside, out from the inside, tie a knot, lift the stitch below, make a ‘kettle stitch’. Simple only to begin with maybe; you needed to concentrate at this part, especially if you are a hopelessly inept seamstress like I am. The room fell silent, the slashing and creasing of paper from before now just an echo, and my pages were beginning to bear increasingly more resemblance to a book with each stitch. The transformation was starting to take place! I sandwiched on my jazzy end papers, slopped plenty of glue onto the now neatly aligned spine, and left it to dry over my much needed lunch break, wedged between the table edge and a weight.
Step 3: Spellbinding Spines
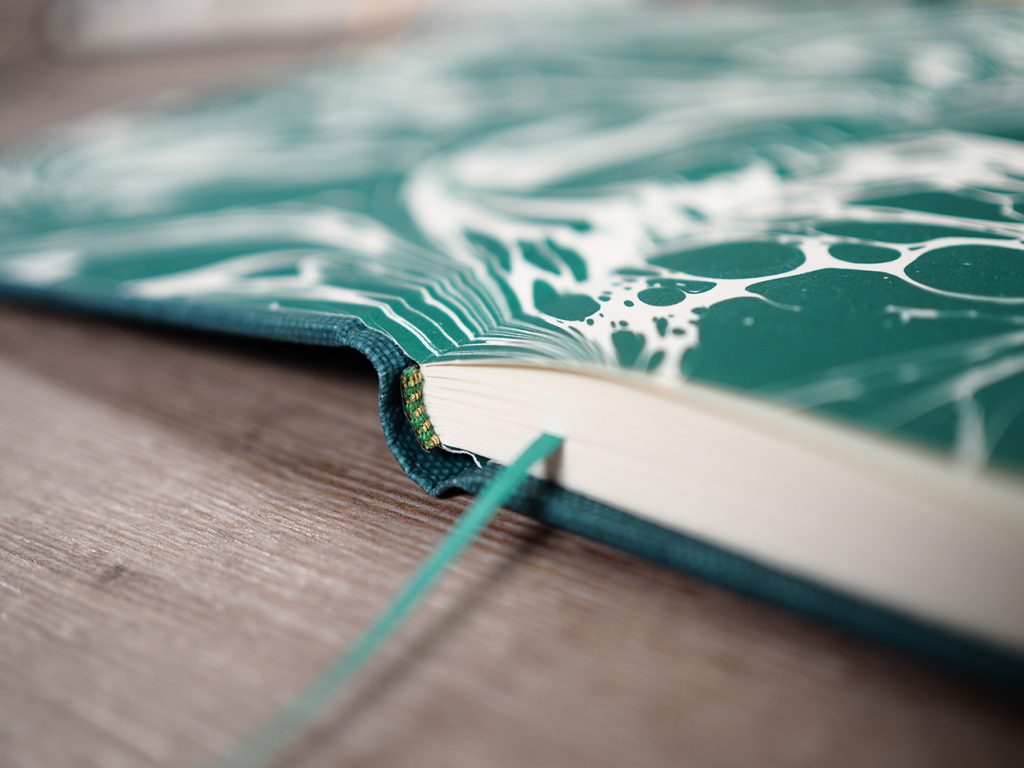
My paper wodge was then secured diagonally in a wooden contraption called a Finishing Press, so that I could get to work preparing the spine for the casing. I recall taking some time to rummage to the bottom of the ribbon box before finding my preferred ribbon marker and headband colours; green and sparkly gold to compliment my garish marbled green end paper. More glue sloshing onto the spine, before ribbon and headbands were secured in place behind a strip of reinforcing card. You might be wondering what a headband is. It’s that tiny piece of fabric that peeks over to top of the spine that you’ve probably never paid much attention to in the past – just one example of the attention to detail that is required here – it’s important for both function and aesthetic. A section of very strong, white linen fabric was then layered on top of this for added support. This part of the process was littered with precise, finicky measurements that my saturated brain was, by now, starting to reject. Again, more opportunity for error – just one millimetre away from devastating notebook collapse. I take a couple of gulps of coffee and re-focus to avoid a meltdown. How do they cope with this every day?
Step 4: Casebound Conjuring
The most exciting, yet tricky part; making the hard back casing, or cover as the non-experts know it. Two thick pieces of dense cardboard are placed equidistantly apart with anther slither of artisan card between them (the spine), on a sheet of coloured linen fabric which has been doused in glue on the reverse side. Again, I can’t stress enough how essential the exactness of calculations is here, I won’t give you them because they are very boring to read and I’m not entirely convinced I jotted them down correctly, but just so we are all aware – there were numbers, and they were really important.

The fabric was wrapped neatly over the boards, and the corners tidily tucked into sharp folds. Then all that remained was to glue down the outer end leaves to the cover – possibly the most problematic part. Sharp intakes of breath as students around me took the plunge, clamped the pages in their sweaty hands, and let go of the uprightly held cover, watching it flip unforgivingly into place, kissing the end paper and attaching forever.
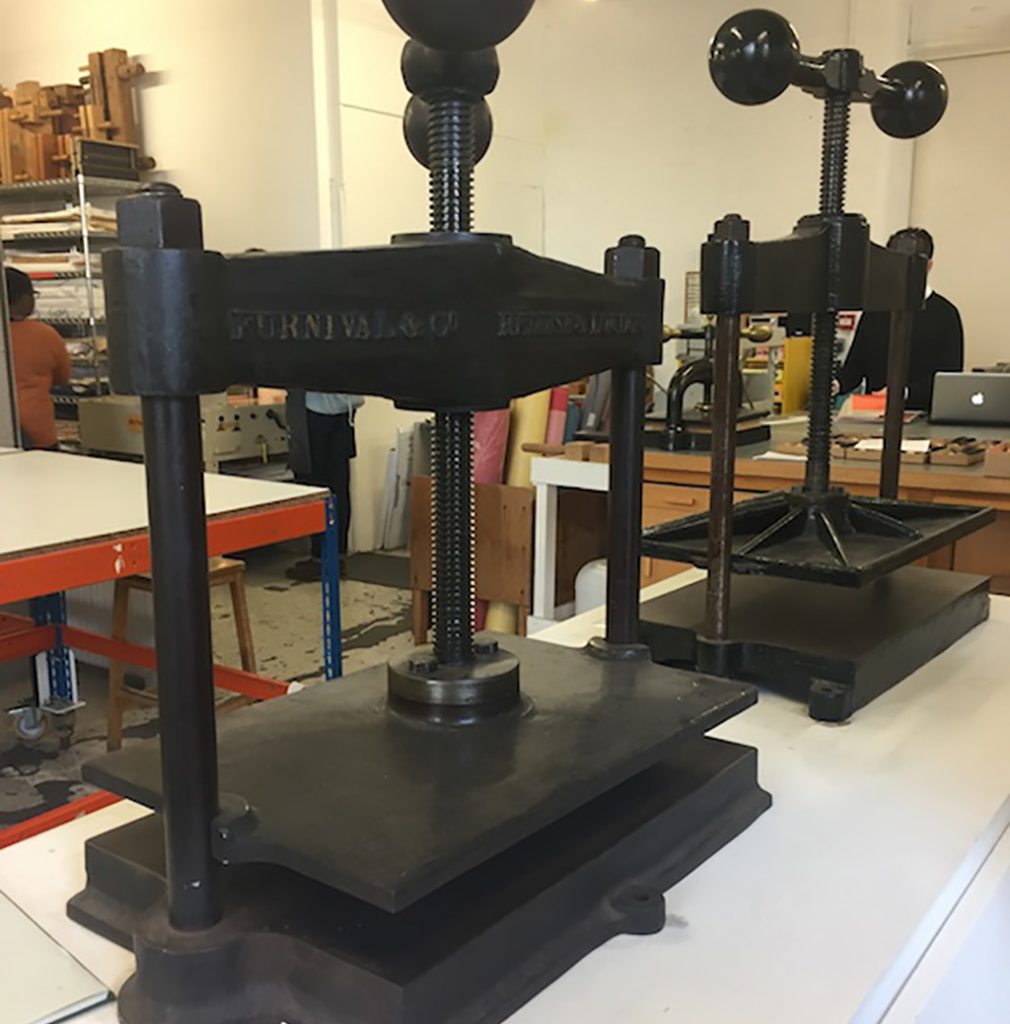
I anxiously peek beneath the cover, peel it back slowly ….and snort, disgruntled at the wrinkles and lopsided edges of my masterpiece. All that hard work, ruined! I may be exaggerating the drama of the situation slightly – while still wet you could actually re-position your paper until you were satisfied – but what a tense few moments before we learnt that! Blotting paper and plastic were then used to soak up the dampness while the books were pressed between wooden boards, ready to be unveiled dry and fabulous the next day.
Step 5: The Great Unveiling
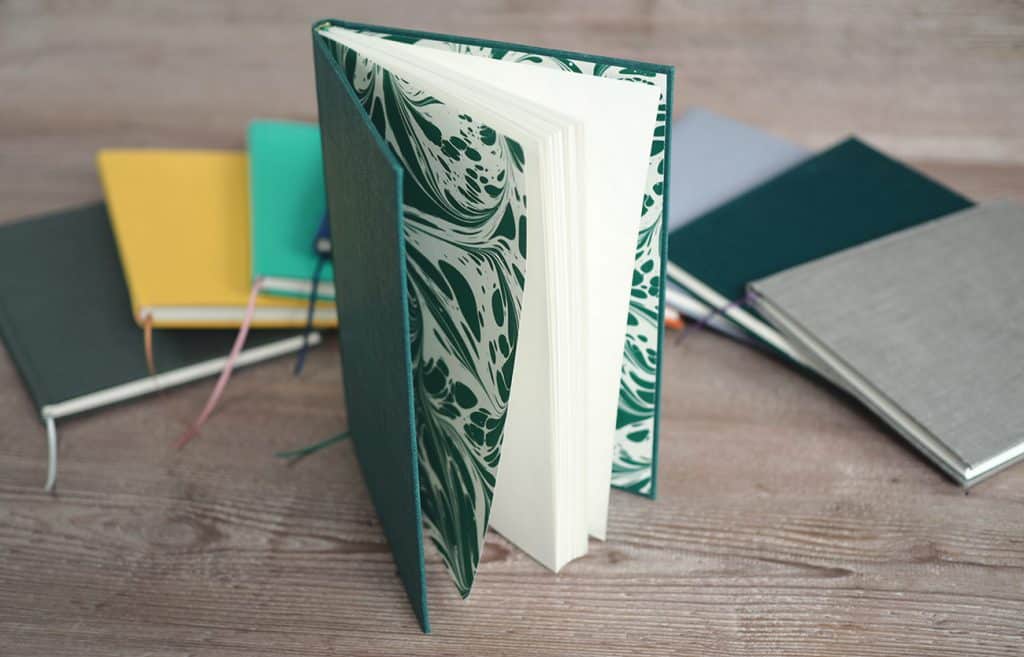
I’m going to dedicate the fruits of my labour (below) to the unsung heroes of the notebook making world. I hope that after reading this, you too have a greater appreciation for the hard work that goes into just one book. Many of our notebooks are machine made, but still have the handmade element of a signature sewn book block – so when you receive your next order, peer down the spine and marvel at the detail that has gone into putting it together.
Then scan down and look at your debossed cover and printed inserts…and marvel some more at our Production teams hard work, too.
If you’d like to make you own notebook why not go on a course at the London Centre for Book Arts – we can thoroughly recommend them!